A little while ago, I was asked by a friend whether I could take a look at an Acer Aspire 5315 laptop which was suffering from the effects of a carbonated cola drink having infiltrated the keyboard. Basically, somebody had knocked a goodly amount of liquid into the keyboard and now it wasn’t functioning correctly.
The symptoms were as expected, physically sticky keys and keys becoming electronically stuck as well. Not good news.
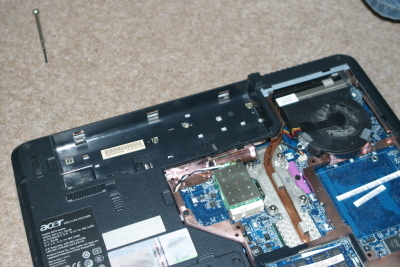
So I set about trying to remove the keyboard without the benefit of a service manual (oh what fun). 🙄 I started by immediately making a big mistake and removing the memory bay/mini pci cover. This is the biggest cover on the base of the laptop and it’s a right shunt to remove. If you ever need to take this one off, remove all the screws you can see in the cover itself and then carefully start levering from the edge nearest the centre of the laptop first. When I say ‘carefully’, I mean eggshells carefully. The plastic is thin and the whole circumference of the cover is fitted with small extrusions which serve as clips. These will bend to an extent as you free them (I had to gingerly run a fine screwdriver around the gap), just hope you don’t break them! You only really need this cover off if you are fitting a Mini PCI or RAM upgrade part.
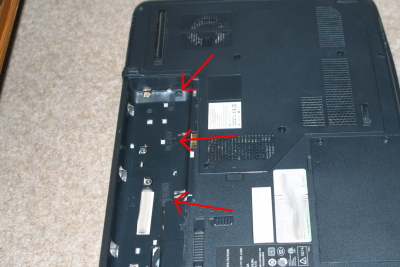
Having discovered there was no access to the keyboard fixings from this cover, I refitted it (also very carefully!) and looked under the battery cover. There I found three black screws which appeared to correspond to the cover above the keyboard on the upper side of the laptop.
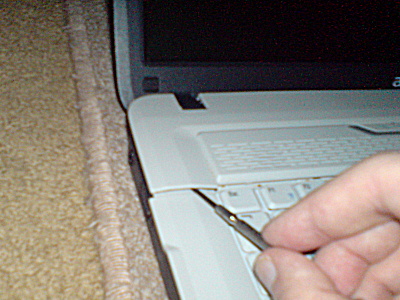
After removing the three black screws, I began levering up the edge of the fascia panel nearest the keyboard. This panel serves to hold the keyboard in place, it also comprises the button cover for the power switchgear and grilles for the speakers. I used a fine jewellers screwdriver to carefully lever the panel up. Again, it’s a series of brittle-looking plastic clips.
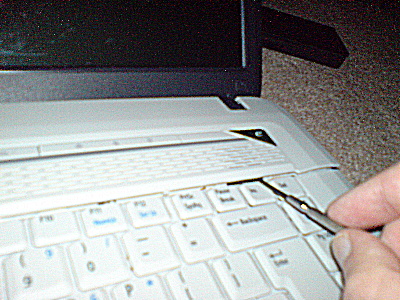
Once the bottom edge of the cover was freed, I lifted it away from the top edge revealing the clips that hold the keyboard in place (set of plastic tabs holding the top edge of the keyboard).
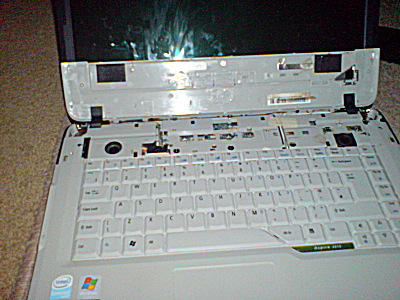
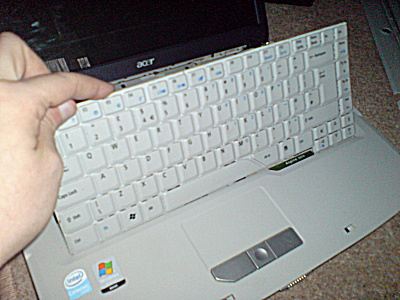
Again, with my trust jeweller’s driver, I levered the top edge of the keyboard from the retaining tabs and not knowing how much ribbon cable existed, gingerly rotated the keyboard up.
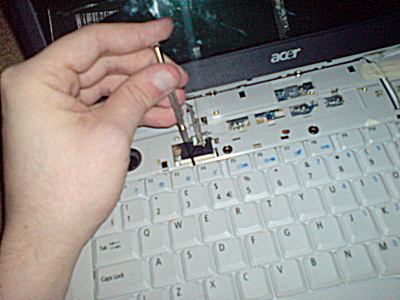
As it turns out, there’s enough ribbon to fold the keyboard all the way over to allow removal of the cable. To release the ribbon cable, you have to carefully lever the dark/black locking collar back along the ribbon until it is out of the socket. After carefully memorising the way the cable fits, withdraw the ribbon.
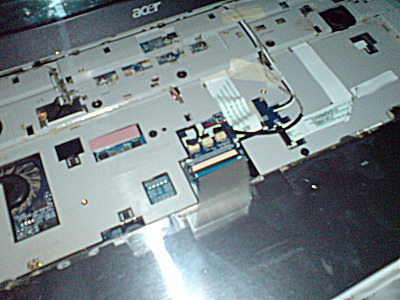
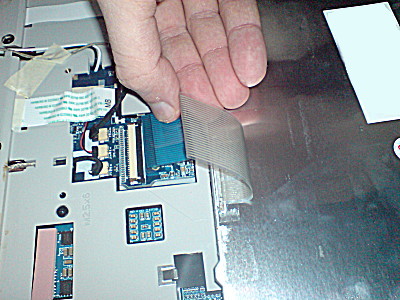
There’s not much else you can get access to from the keyboard bay, there’s no upgradeable parts here and you can only clean (not remove) the CPU fan from here.
The keyboard is a pretty much sealed unit, I had a little try at soaking it in isopropyl alcohol but to no avail. The sugar in the cola had aparently ‘eaten’ (dissolved) the insulator between the membranes and this was now an ex-keyboard.
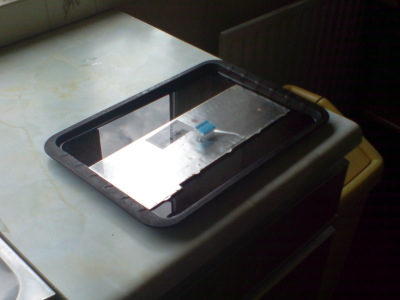
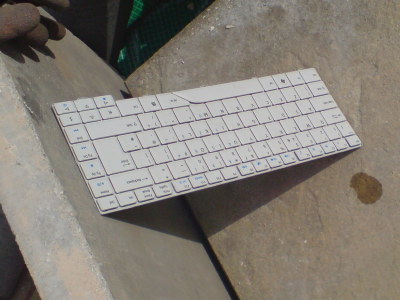
I managed to find a new keyboard at ‘Acer Spare Parts‘, a company in the UK who had the part shipped in to from Ireland. As my poor luck would have it, the keyboard was damaged in transit possibly because of not-stiff-enough packaging but more likely from ‘courier delivery’ 😉 .
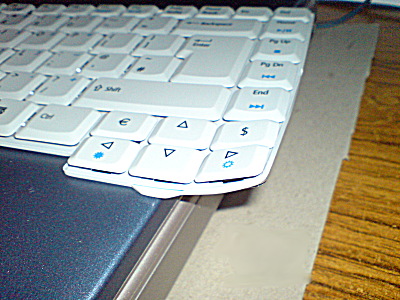
I managed to flatten the keyboard out by hand, the metal backplane was quite malleable and there was no physical damage to the keys. Refitting is pretty much the reverse of removal. Make sure you get the ribbon cable the right way round and push the locking collar back up. Then put the keyboard back with the bottom edge in first, press the top edge in (ensure that all the tabs are visible above the rim of the keyboard. The upper cover goes back on top-edge first and then presses down. Finally, three black screws go back into the battery bay and you’re done. (Boot and test the keyboard)
This method may work for other Acer Aspire models. Some of the Apire 5000 such as the 5050, 5520 and 5570 look very much alike and 7000 models certainly look similar but don’t quote me on this.
It’s a relatively simple procedure providing you are fairly dexterous and capable of being very gentle and little bit patient. Still, attempt at your own risk, don’t come crying to me if the whole lot disintegrates in your hands! 😉

